In our previous tutorials, we have discussed,
Today, we will see how to create OpenVZ Container in OpenVZ.
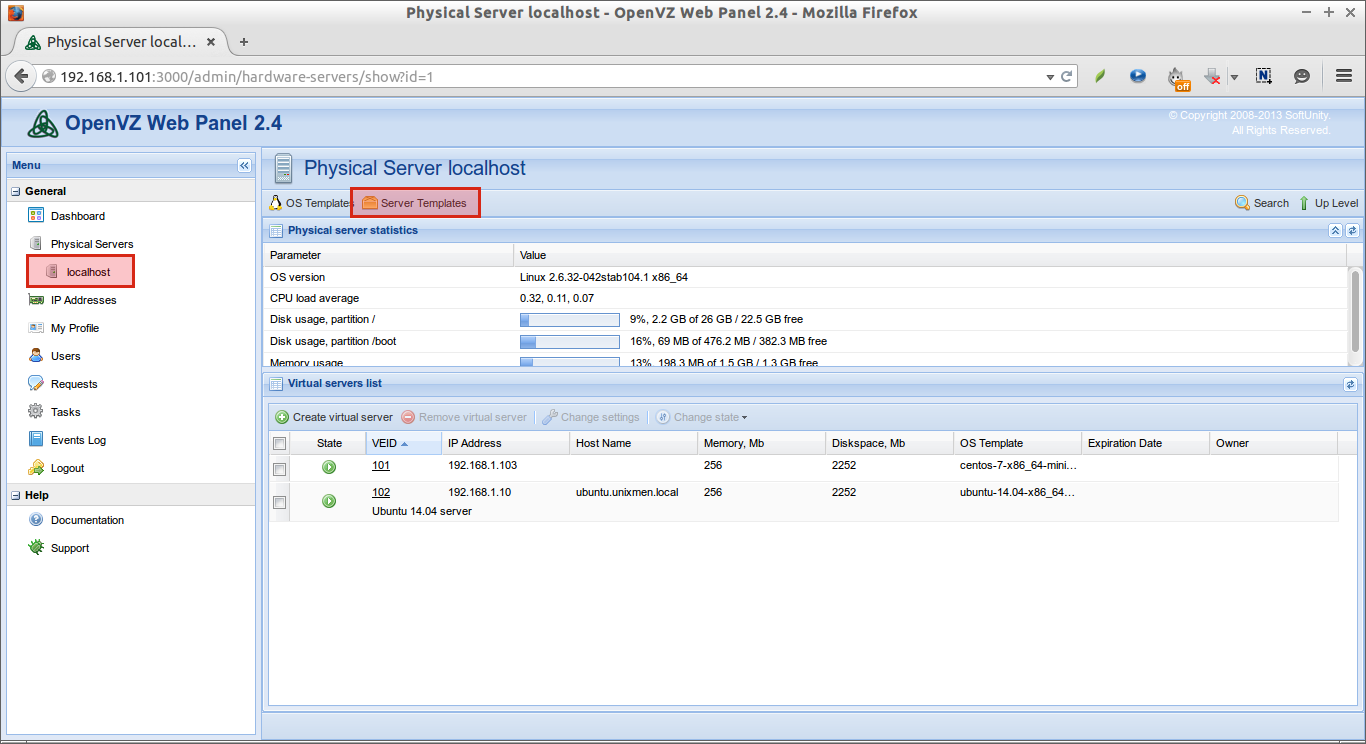
What is Containers?
The Virtual machines are known as Containers in OpenVZ. Unlike the traditional virtual machines of VMWare, KVM, Oracle VirtualBox, the main advantage of Containers is that they will share the resources of the physical machine dynamically. That means, a particular amount of RAM or Disk space will not be allocated to any particular container. The pool of resources will be equally shared by all Containers on demand.
Creating Containers in OpenVZ
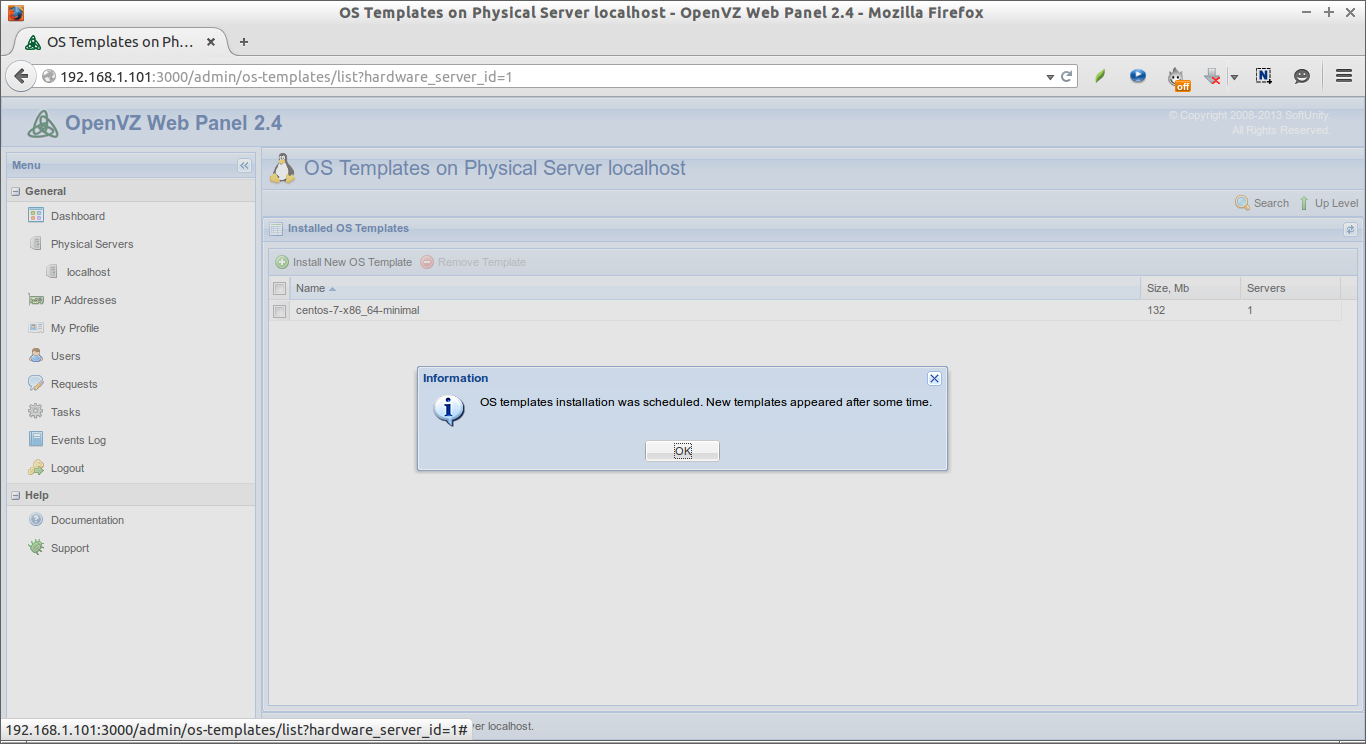
The list of available pre-created templates will be found in this location: http://openvz.org/Download/template/precreated
Here, we’ll be creating a CentOS 7 Container and assign IP address to that container as 192.168.1.103/24.
Log in to OpenVZ physical server, and go to the /vz/template/cache which is the default directory to store the downloaded templates.
cd /vz/template/cache/
Download CentOS 7 minimal template:
wget http://download.openvz.org/template/precreated/centos-7-x86_64-minimal.tar.gz
Be mindful that you should unpack the tar file. Just place it in your Physical server as it was downloaded.
Now, Enter the following command to create the first virtual machine.
vzctl create 101 --ostemplate centos-7-x86_64-minimal
Sample output:
Creating image: /vz/private/101.tmp/root.hdd/root.hdd size=2306867K
Creating delta /vz/private/101.tmp/root.hdd/root.hdd bs=2048 size=4614144 sectors v2
Storing /vz/private/101.tmp/root.hdd/DiskDescriptor.xml
Opening delta /vz/private/101.tmp/root.hdd/root.hdd
Adding delta dev=/dev/ploop42825 img=/vz/private/101.tmp/root.hdd/root.hdd (rw)
mke2fs 1.41.12 (17-May-2010)
Discarding device blocks: done
Filesystem label=
OS type: Linux
Block size=4096 (log=2)
Fragment size=4096 (log=2)
Stride=0 blocks, Stripe width=0 blocks
144288 inodes, 576256 blocks
28812 blocks (5.00%) reserved for the super user
First data block=0
Maximum filesystem blocks=4294967296
18 block groups
32768 blocks per group, 32768 fragments per group
8016 inodes per group
Superblock backups stored on blocks:
    32768, 98304, 163840, 229376, 294912

Writing inode tables: done
Creating journal (32768 blocks): done
Writing superblocks and filesystem accounting information: done

This filesystem will be automatically checked every 35 mounts or
180 days, whichever comes first.  Use tune2fs -c or -i to override.
tune2fs 1.41.12 (17-May-2010)
Setting maximal mount count to -1
Setting error behavior to 2
Setting interval between checks to 0 seconds
Creating balloon file .balloon-c3a5ae3d-ce7f-43c4-a1ea-c61e2b4504e8
Mounting /dev/ploop42825p1 at /vz/private/101.tmp/root.hdd/root.hdd.mnt fstype=ext4 data=''
Unmounting device /dev/ploop42825
Opening delta /vz/private/101.tmp/root.hdd/root.hdd
Adding delta dev=/dev/ploop42825 img=/vz/private/101.tmp/root.hdd/root.hdd (rw)
Mounting /dev/ploop42825p1 at /vz/root/101 fstype=ext4 data='balloon_ino=12,'
Creating container private area (centos-7-x86_64-minimal)
Unmounting file system at /vz/root/101
Unmounting device /dev/ploop42825
Opening delta /vz/private/101/root.hdd/root.hdd
Adding delta dev=/dev/ploop42825 img=/vz/private/101/root.hdd/root.hdd (rw)
Mounting /dev/ploop42825p1 at /vz/root/101 fstype=ext4 data='balloon_ino=12,'
Performing postcreate actions
Unmounting file system at /vz/root/101
Unmounting device /dev/ploop42825
CT configuration saved to /etc/vz/conf/101.conf
Container private area was created
Here,
- 101 – Container ID (It typically starts from 100)
Next, we have to setup the IP address to the Container, fro example: 192.168.1.103.
vzctl set 101 --ipadd 192.168.1.103 --save
Sample output:
CT configuration saved to /etc/vz/conf/101.conf
Assign DNS servers:
vzctl set 101--nameserver 8.8.8.8--save
Sample output:
CT configuration saved to /etc/vz/conf/101.conf
That’s it. We have successfully created and assigned IP address to the new container.
Starting Containers
Run the following command to start our newly created container.
vzctl start 101
Sample output:
Starting container...
Opening delta /vz/private/101/root.hdd/root.hdd
Adding delta dev=/dev/ploop42825 img=/vz/private/101/root.hdd/root.hdd (rw)
Mounting /dev/ploop42825p1 at /vz/root/101 fstype=ext4 data='balloon_ino=12,'
Container is mounted
Adding IP address(es): 192.168.1.103
Setting CPU units: 1000
Container start in progress...
You can verify it by pinging the container from the Physical server.
ping 192.168.1.103
Sample output:
PING 192.168.1.103 (192.168.1.103) 56(84) bytes of data.
64 bytes from 192.168.1.103: icmp_seq=1 ttl=64 time=0.063 ms
64 bytes from 192.168.1.103: icmp_seq=2 ttl=64 time=0.081 ms
64 bytes from 192.168.1.103: icmp_seq=3 ttl=64 time=0.073 ms
Entering to the Container
Now, we can log in to the Container using command:
vzctl enter 101
Sample output:
entered into CT 101
From now on, you are in the newly created container. Just play with your new virtual machine and do what you want to do.
To exit, and return back to your original physical computer, just enter:
exit
Sample output:
logout
exited from CT 101
Adjust Firewall To Access Containers from Remote systems
Log in to the physical system(openvz server).
Edit /etc/sysconfig/iptables:
vi /etc/sysconfig/iptables
Find the following two lines:
:FORWARD ACCEPT [0:0]
:OUTPUT ACCEPT [0:0]
Add the following lines(marked in bold letters) between the above two lines.
:FORWARD ACCEPT [0:0]
-P FORWARD ACCEPT
-F FORWARD
:OUTPUT ACCEPT [0:0]
Also, make sure the following has been commented out.
#-A FORWARD -j REJECT –reject-with icmp-host-prohibited
Refer the following screenshot of my testing machine.
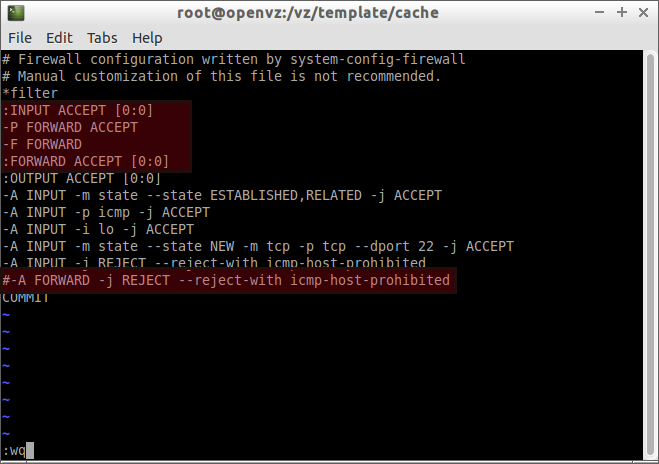
Save and close the file.
Then, Restart iptables service to take effect the saved changes.
service iptables restart
Now, you can access the newly created Container from outside of your network.
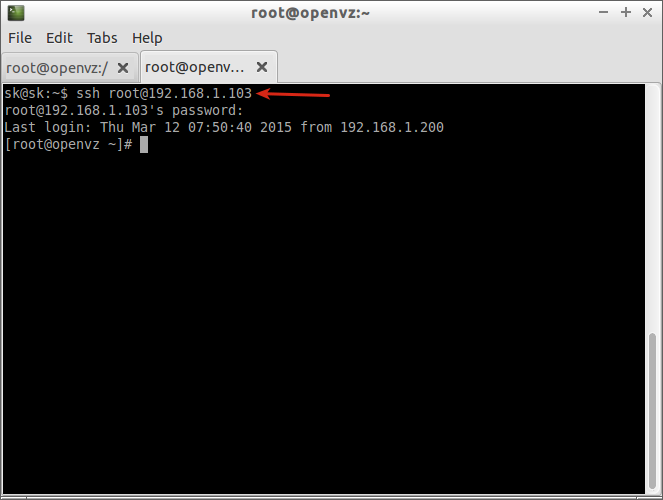
For example, I can SSH to the Vm from my Ubuntu desktop.
ssh root@192.168.1.103
Adding more RAM and Disk space to the Container
Please not that we haven’t assigned any specific RAM or disk size to the Container. By default, the new Container will have the 256 MB RAM, 512 MB vSwap Memory and 2 GB disk space. If you want to assign more RAM and disk space, you have to edit and adjust the /etc/vz/conf/101.conf file. Here 101.conf is the Container conf file which has the Container ID 101. You can view the list of configurations for all containers under /etc/vz/ directory.
Let us increase the RAM and disk size of tour new VM (ID: 101).
To do that, log in to the physical server(not in the VM) and edit file,
vi /etc/vz/conf/101.conf
Find the following lines, and change as per your wish.
# RAM
PHYSPAGES="0:256M"

# Swap
SWAPPAGES="0:512M"

# Disk quota parameters (in form of softlimit:hardlimit)
DISKSPACE="2G:2.2G"
DISKINODES="131072:144179"
QUOTATIME="0"
That’s it. Start using the VM in OpenVZ.
Want to know more about OpenVZ? Well, check out the official OpenVZ user documentation.
Cheers!
---------------------------------------------------------------------
How To Create OpenVZ Container In OpenVZ