Introduction
As you may know, CIA, Confidentiality/Integrity/Availability, is the main key elements of Information Security. The main Job of a System Administrator/Security expert is to protect the data from unauthorized access, use, disclosure, disruption, destruction, and modification. There are n number of tools and methods are available out there to secure your data. The one we will discuss today is VeraCrypt.
VeraCrypt is a free disk encryption software. It is based on TrueCrypt, and solves many vulnerabilities and security issues found in TrueCrypt. Using VeraCrypt anyone can make an encrypted volume. Whenever you store data in VeraCrypt volume, the data will automatically be encrypted before it is saved, and decrypted after it is loaded, without any user intervention. Nobody can steal/read/edit your data on the encrypted volume without using the correct password/keyfile(s). The entire filesystem will be encrypted including file names, folder names, contents of every file, free space, meta data, etc.
You can store files on VeraCrypt volumes as the way you do in normal volumes. Data that are being written on VeraCrypt volumes will be encrypted automatically, and data that are being copied or read from the encrypted volumes will be decrypted automatically. Once you unmount the VeraCrypt vloume, the data are inaccessible and encrypted. To access the data, you should mount the VeraCrypt volume with the correct password and/or keyfile. VeraCrypt is completely free for use, and it works well on GNU/Linux, Windows, and Mac OS X.
In this tutorial, we will see how to create a encrypted volume in local and external drive. This guide is tested on Ubuntu 14.04, and is worked for me as explained.
Installation
Download the latest version from the VeraCrypt download page.
Extract the tar file using command:
tar -xjvf veracrypt-1.0f-1-setup.tar.bz2
The above command will extract and save the files in the current directory. typically, there will be for files. Two files for command-line installation(x86 & x64 bit), and two files for GUI mode installation. I am going to install the 64bit version GUI file.
You will see the following screen. Click Install Veracrypt.
![xmessage_001]()
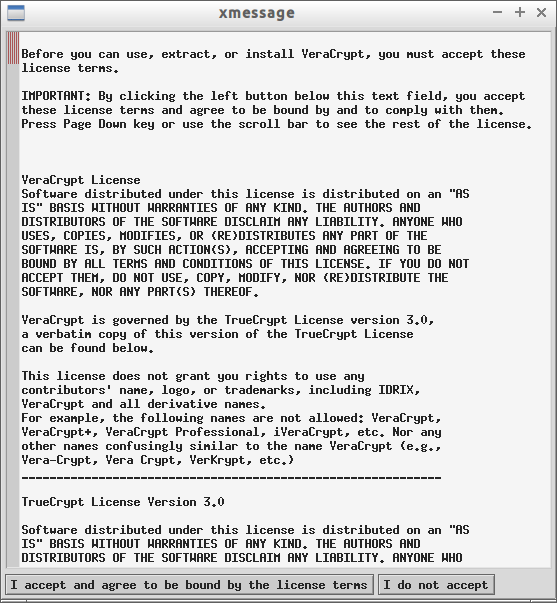
Accept the license agreement.
![xmessage_002]()
Click OK to continue.
![xmessage_003]()
Finally press Enter to exit and complete the installation.
![VeraCrypt Setup_004]()
We have successfully installed VeraCrypt. Let us see how to use and encrypt a volume.
1. Creating VeraCrypt Container
In this method, we will create an encrypted container inside a file. Let us see how to do it.
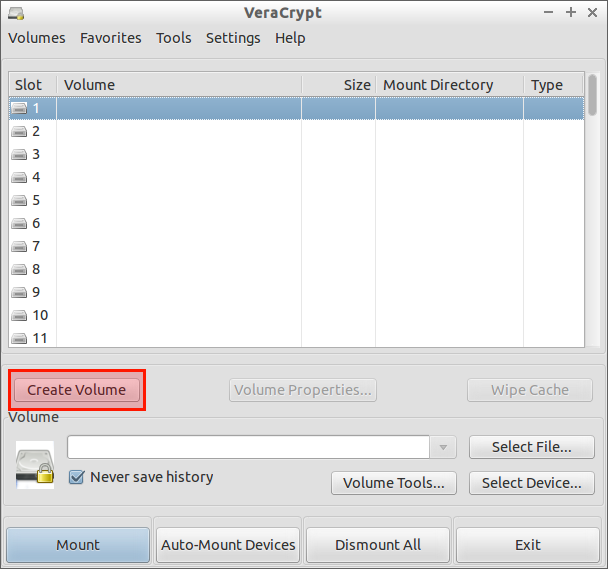
Launch it either from the Menu or Dash. VeraCrypt interface will look like below.
Click Create Volume.
![VeraCrypt_001]()
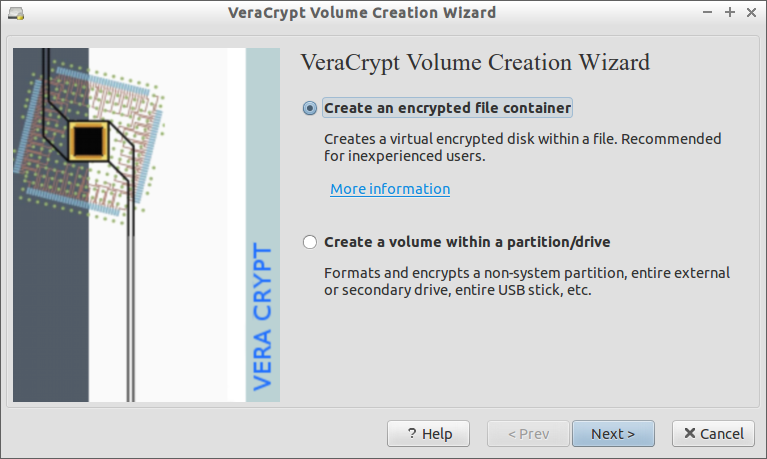
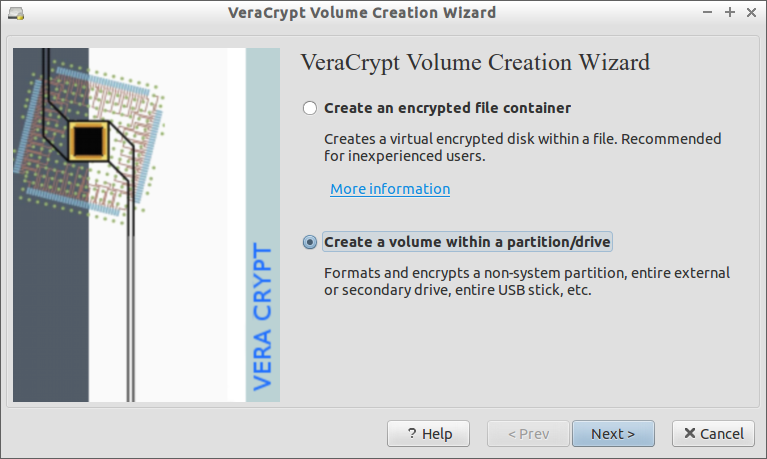
Select Create an encrypted container option.
![VeraCrypt Volume Creation Wizard_002]()
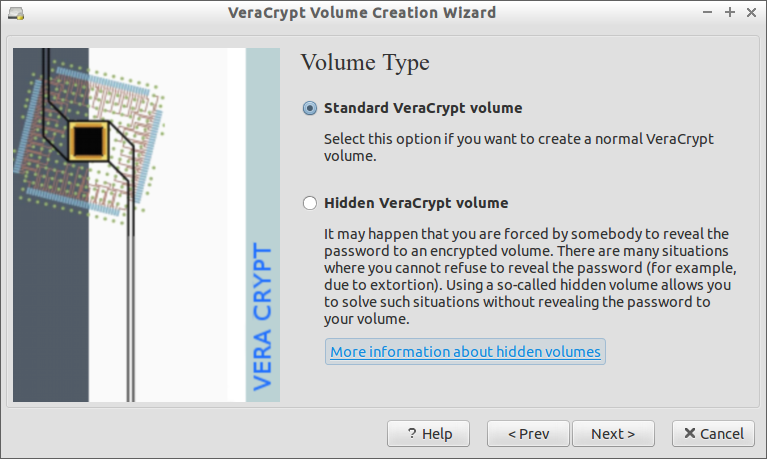
Select Standard VeraCrypt volume.
![VeraCrypt Volume Creation Wizard_003]()
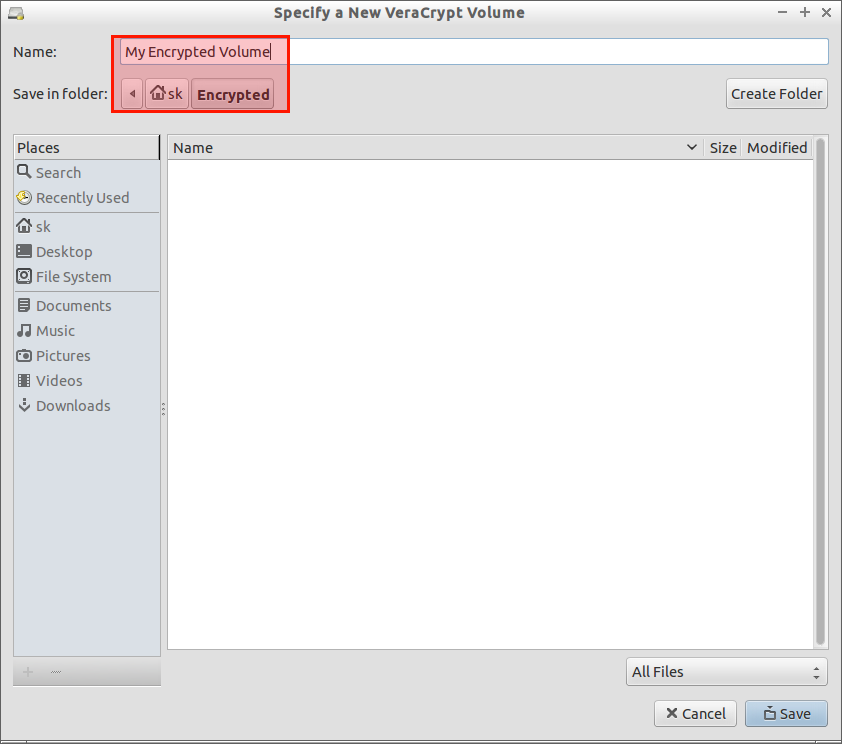
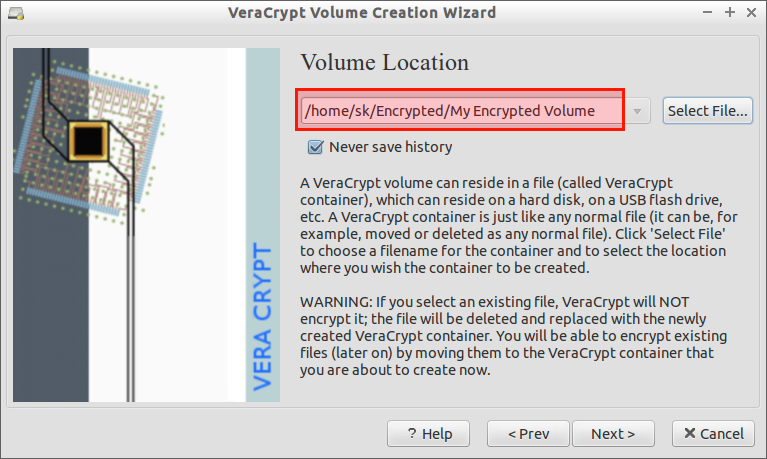
Next, you have to specify where you want to store the encrypted volume. In my case, I created a folder called “Encrypted” in my Home folder. So, I am going to use the folder to create and mount VeraCrypt volume. Also, you have to name the file container.
![VeraCrypt Volume Creation Wizard_004]()
![Specify a New VeraCrypt Volume_005]()
Click Next after selecting the Volume location.
![VeraCrypt Volume Creation Wizard_006]()
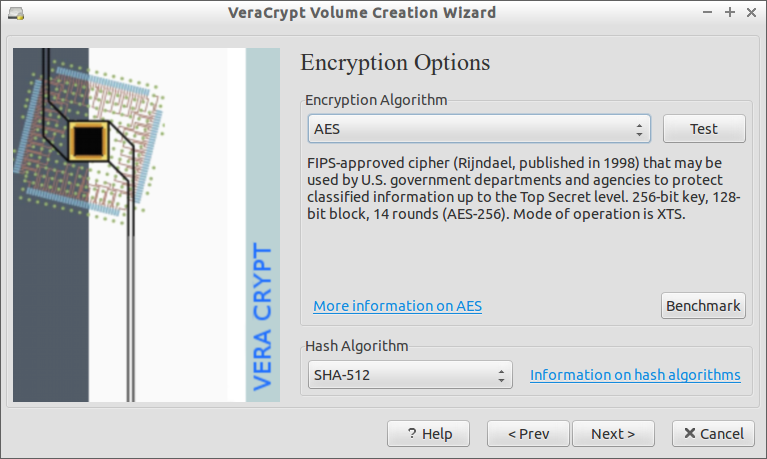
Select the Encryption Algorithm. You can choose any algorithm type. I will go with default selected encryption algorithm.
![VeraCrypt Volume Creation Wizard_010]()
Specify the size of the container in KB, MB, or GB.
![VeraCrypt Volume Creation Wizard_007]()
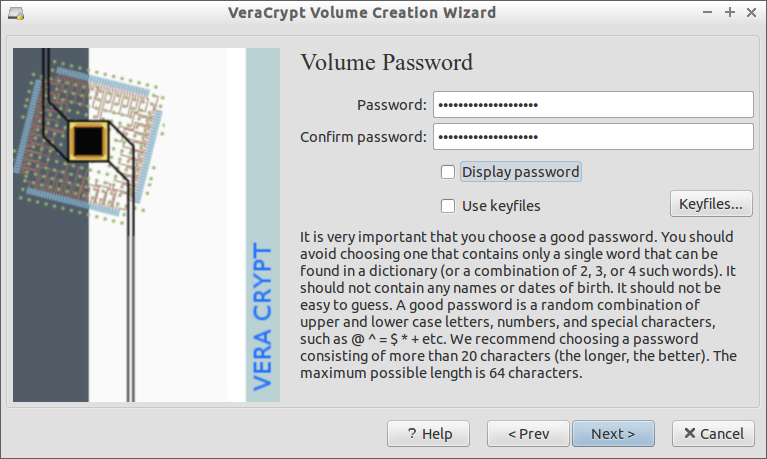
Now, we reached the important part. You should enter a strong a password consisting of minimum 20 characters, and maximum 64 characters. The password must contain a random combination of lower/upper case letters, numbers, and special characters.
![VeraCrypt Volume Creation Wizard_011]()
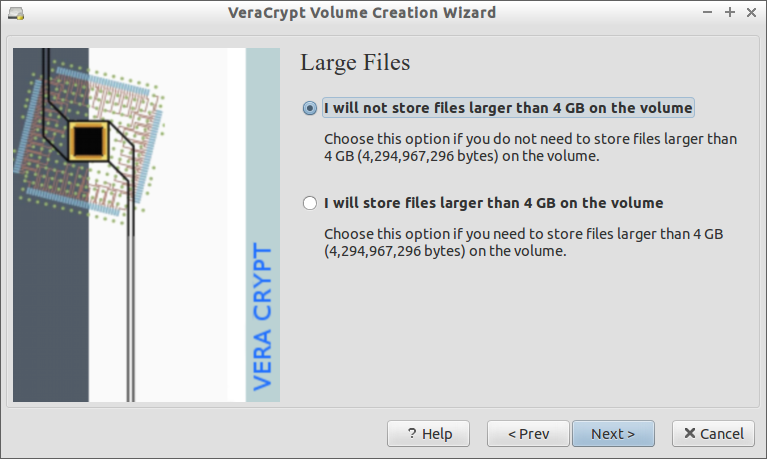
Now, you have to choose any one of the option. If you want to store files larger than 4GB or less than 4GB. I will go with first option.
![VeraCrypt Volume Creation Wizard_008]()
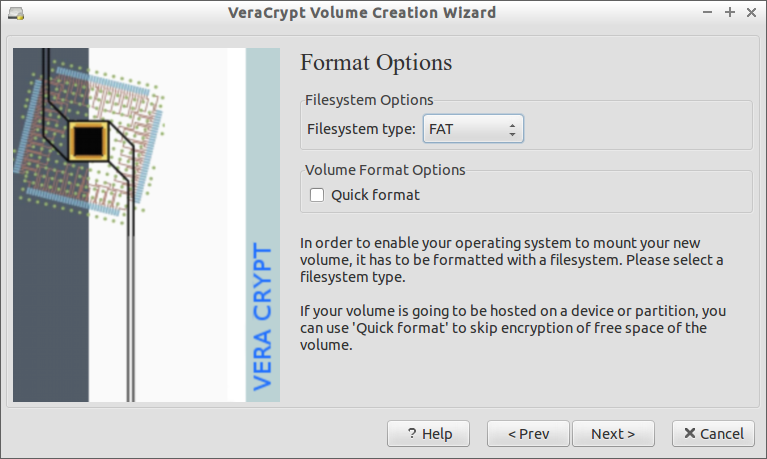
Select the file system.
![VeraCrypt Volume Creation Wizard_012]()
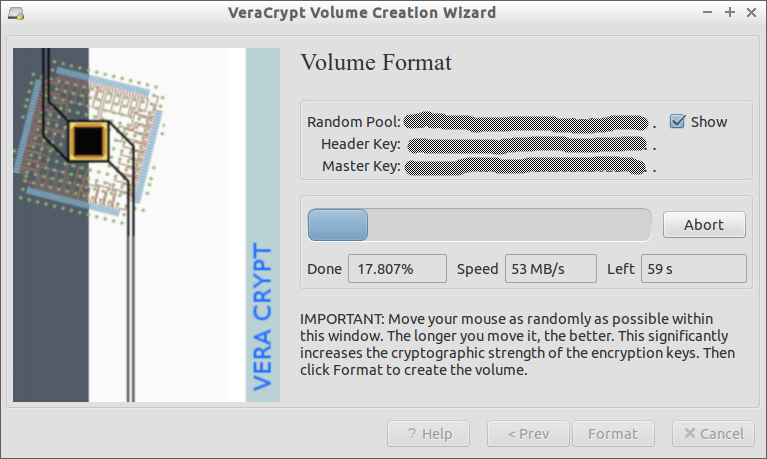
Move your mouse pointer as randomly as possible within the following window atleast 30 seconds. This significantly increases the cryptographic strength of the encryption keys. The longer you move it, the better.
![VeraCrypt Volume Creation Wizard_013]()
I did this for 50 seconds. Finally, click Format.
![VeraCrypt Volume Creation Wizard_014]()
The format process will take few minutes depending upon the size.
Finally, you will see a successful installation completed wizard. Click Ok.
![VeraCrypt_015]()
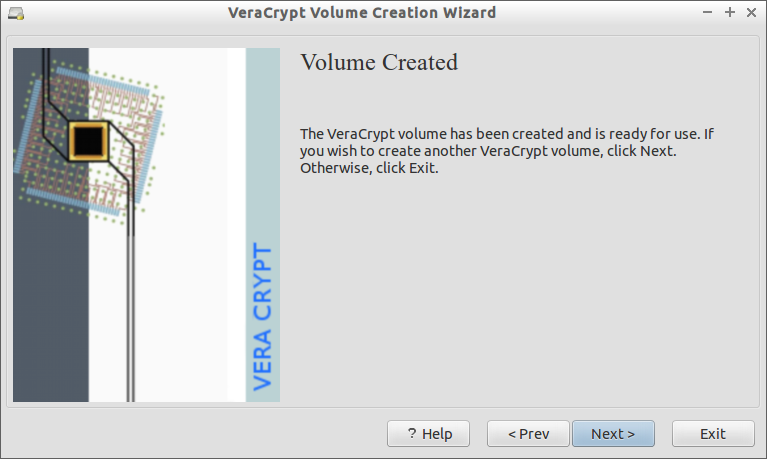
If you wish to create another volume, click Next, else click Exit.
![VeraCrypt Volume Creation Wizard_016]()
That’s it. We successfully created the Volume. We will see how to mount and dismount it.
Mount/Dismount Volumes
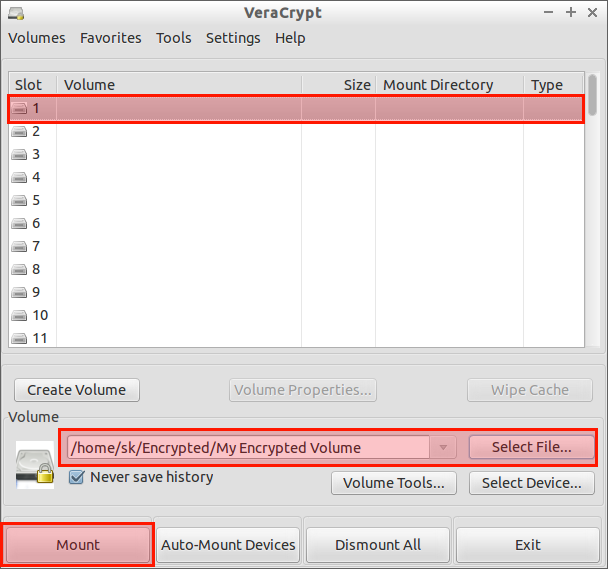
Once you created the encrypted volumes, go back to the main window of VeraCrypt. Select a slot, browser to the file container location, and click Mount.
![VeraCrypt_009]()
Enter your VeraCrypt password.
![Enter password for "-home-sk-Encrypted-My Encrypted Volume"_010]()
Then, enter your root user password of your local system.
![Administrator privileges required_011]()
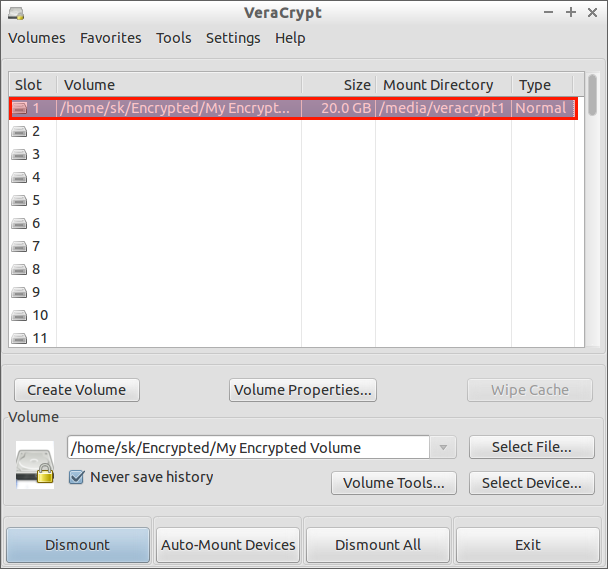
Voila! The virtual drive has been created and mounted.
![VeraCrypt_012]()
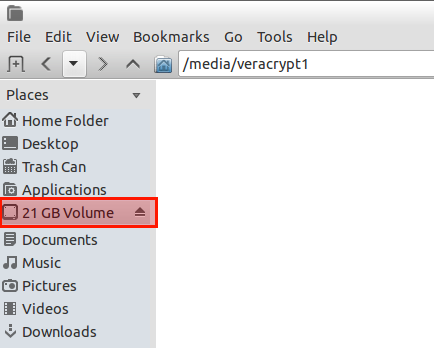
You can check it on your file manager too.
![Selection_013]()
Now, you can use this virtual disk as the way you use a normal volume. Store the highly confidential data in the VeraCrypt volume and be relax. Nobody can steal your data without the correct password or/and keyfile(s).
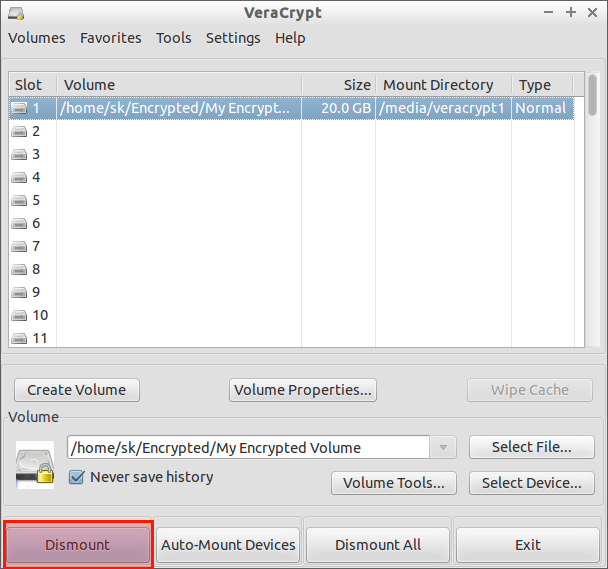
To dismount the volume, click on the Dismount button on the VeraCrypt main interface.
![VeraCrypt_014]()
Now, your volume will be dismounted. You or anyone no longer can access the volume. The data stored in the volume is inaccessible, safe and encrypted.
What we have seen so far is just a created a file in our local hard disk, and mount the encrypted volume on it. The second part describes how to make an encrypted volume on external drives like USB thumb drive.
2. Create Encrypted Partition/Drive
This is method is quite same as above, but with some little changes.
Launch VeraCrypt either from the Menu or Dash.
Now, Plug your USB drive, and make sure there aren’t any important data on it.
Click Create Volume.
![VeraCrypt_005]()
Select Create a volume within a partition/drive option and click Next.
![VeraCrypt Volume Creation Wizard_006]()
We have to choose whether you want to create a standard or Hidden veracrypt volume. I will go with default option. So I selected the first option: Standard VeraCrypt volume.
![VeraCrypt Volume Creation Wizard_007]()
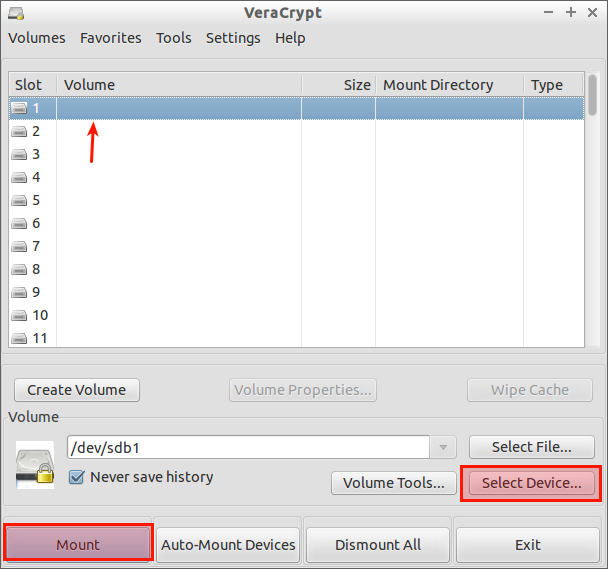
Now, select your device that you want to encrypt.
In my case, I selected my USB drive. And, make sure “Never save history” option is checked.
![VeraCrypt Volume Creation Wizard_008]()
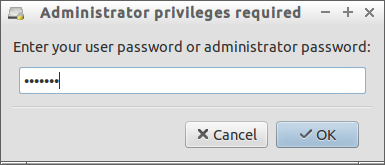
You may now be asked to enter your root user password.
![Administrator privileges required_009]()
Select the Encryption Algorithm. You can choose any algorithm type. I will go with default selected encryption algorithm.
![VeraCrypt Volume Creation Wizard_010]()
Now, we reached the important part. You should enter a strong a password consisting of minimum 20 characters, and maximum 64 characters. The password must contain a random combination of lower/upper case letters, numbers, and special characters.
![VeraCrypt Volume Creation Wizard_011]()
Select the file system.
![VeraCrypt Volume Creation Wizard_012]()
Move your mouse pointer as randomly as possible within the following window atleast 30 seconds. This significantly increases the cryptographic strength of the encryption keys. The longer you move it, the better.
![VeraCrypt Volume Creation Wizard_013]()
I did this for 50 seconds. Finally, click Format.
![VeraCrypt Volume Creation Wizard_014]()
The format process will take few minutes depending upon the size.
Finally, you will see a successful installation completed wizard. Click Ok.
![VeraCrypt_015]()
If you wish to create another volume, click Next, else click Exit.
![VeraCrypt Volume Creation Wizard_016]()
Mount/Dismount Volumes
Once you created the encrypted volumes, go back to the main window of VeraCrypt, select a slot and click Mount.
![VeraCrypt_020]()
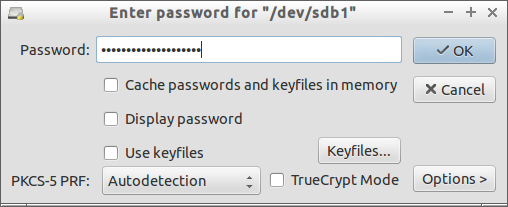
Enter the password.
![Enter password for "-dev-sdb1"_021]()
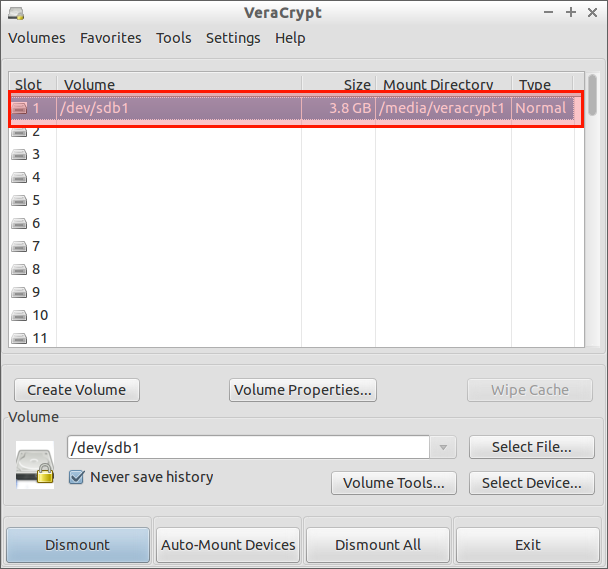
After that, you’ll see the USB drive is mounted.
![VeraCrypt_022]()
Now, open your file manager, and start using the encrypted volumes.
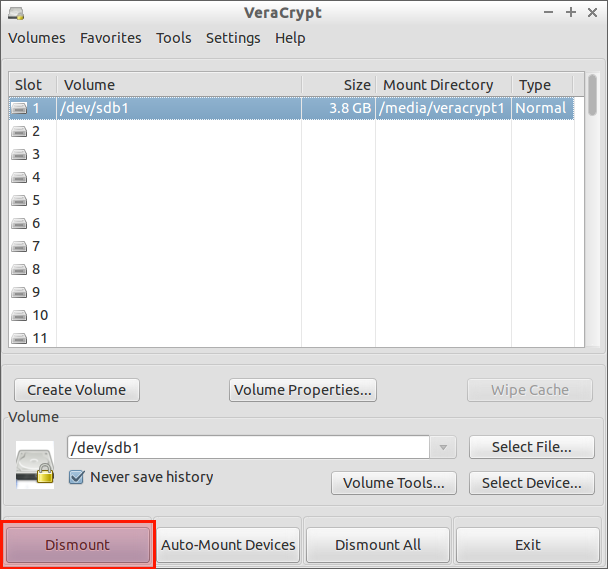
To dismount the volume, simply click on the Dismount in the VeraCrypt main window.
![VeraCrypt_025]()
Uninstallation
If you not satisfy with VeraCrypt, you can uninstall it using command:
sudo /usr/bin/veracrypt-uninstall.sh
For more detailed usage details, refer the official VeraCrypt Documentation.
Conclusion
We have seen how to install VeraCrypt on Ubuntu and create encrypted volumes, and unmount them when not used. As far as I know, VeraCrypt is a must have and useful tool if you’re having some confidential data. Try and find yourself. You won’t be disappointed.
Cheers!