iRedMail is a full featured open source mail server solution. We can deploy mail server in less than fifteen minutes for our organization. If you have fast internet connection, then you can deploy it under 2 minutes. In this how-to let us learn how to install and configure mail server using iRedMail. Its damn pretty easy to install and configure. Its a great time saving solution for system admins.
I tested this software under Ubuntu 12.10 Server, but it may work on all Ubuntu/Debian based distros. In this tutorial my test box details are shown below.
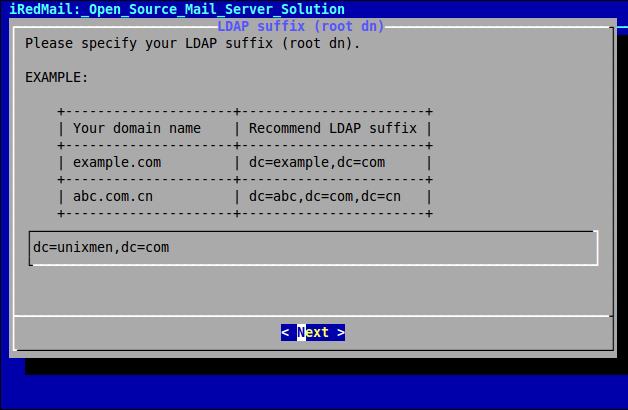
Operating System    : Ubuntu 12.10 Server
IP Address          : 192.168.1.200
LDAP suffix         : dc=unixmen, dc=com
Domain name         : unixmen.com
Hostname            : mail.unixmen.com
Replace the above details with your own values.
Install iRedMail in Ubuntu 12.10
Download the latest version of iRedMail.
unixmen@mail:~$ sudo wget https://bitbucket.org/zhb/iredmail/downloads/iRedMail-0.8.4.tar.bz2
Extract the iRedMail package.
unixmen@mail:~$ sudo tar jxvf iRedMail-0.8.4.tar.bz2
Now goto iRedMail directory and begin installation.
unixmen@mail:~$ cd iRedMail-0.8.4/
unixmen@mail:~/iRedMail-0.8.4$ sudo bash iRedMail.sh
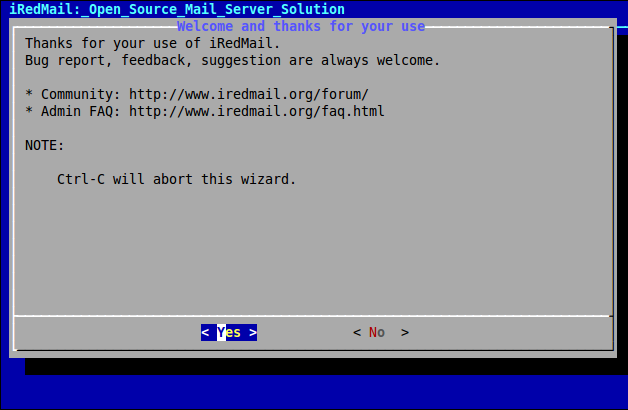
After a few seconds the welcome page should appear.
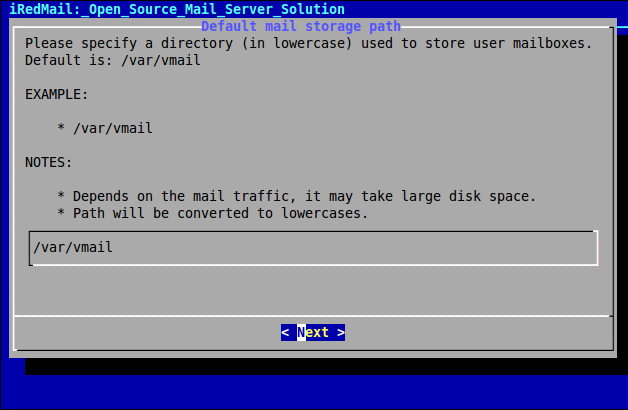
Specify the Mailbox location for users.
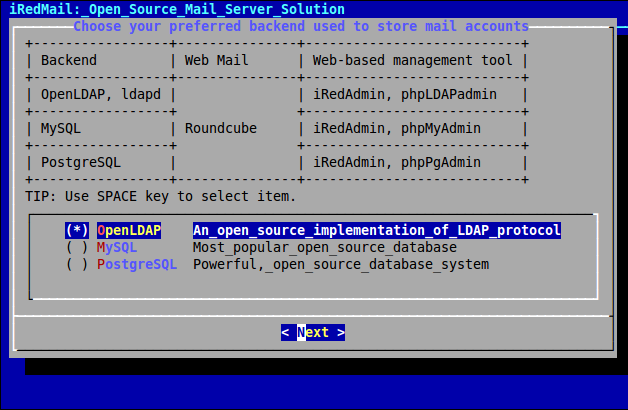
In this case i choose LDAP as my backend to store mail accounts.
Enter your LDAP credentials.
Enter the the LDAP rootdn password. Blank passwords are not recommended.

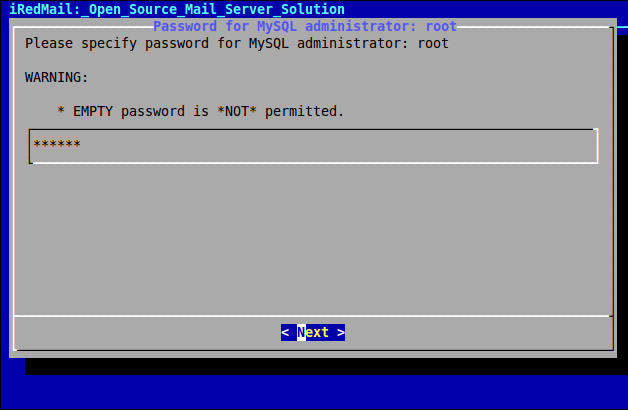
Enter MySQL Administrator password.
Enter the virtual domain for your mail server.

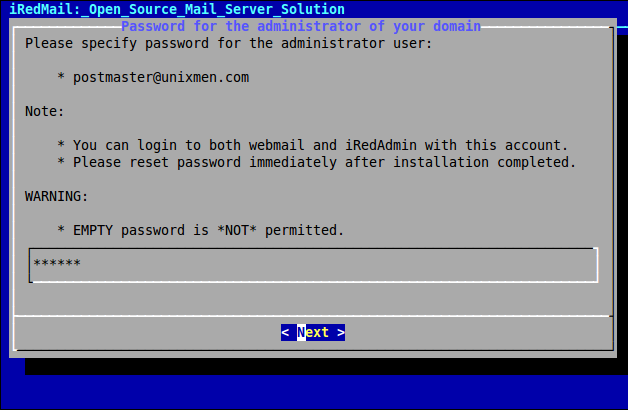
Enter the Administrator password for your mail server.
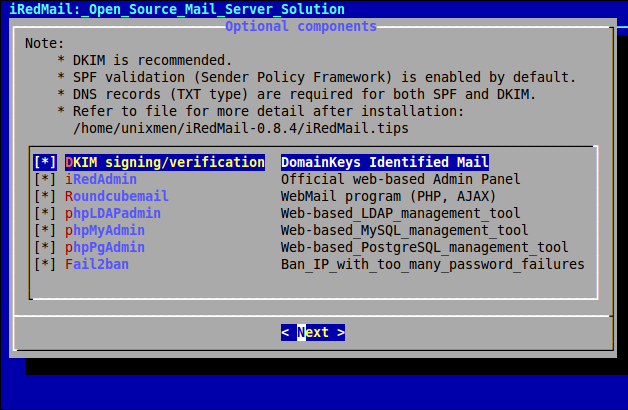
Select the optional components and press next.
Now the installer will begin to download and install the necessary packages. Type y to begin the installation. It will take a while depending upon your internet speed.
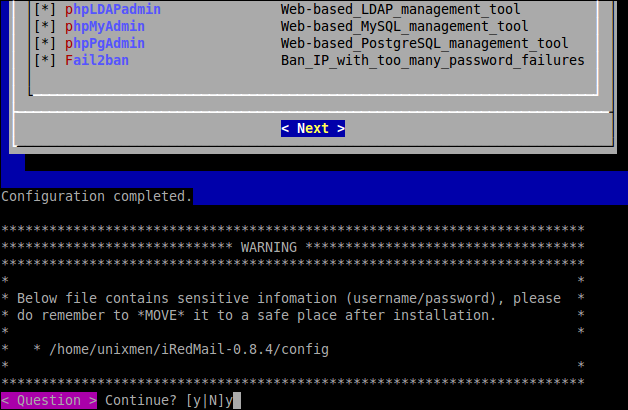
After few minutes, installer will ask to update firewall rules. Press y and enter to accept.
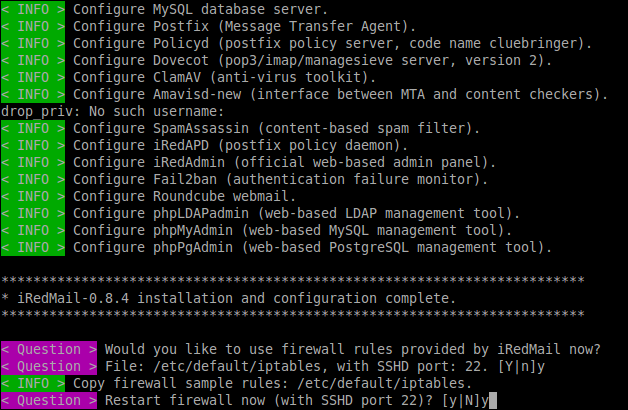
After installation completed, reboot your system.
Please note down the administration username and password. The default administration username is “postmaster@your_domain_name.com” and password is the one which you have given at the installation time.
Administration
You can administrate iRedMail with a cool web interface. You can access the iRedMail web administration using url “https://192.168.1.200/iredadmin”. And you can access the webmail using url “https://192.168.1.200/mail”.
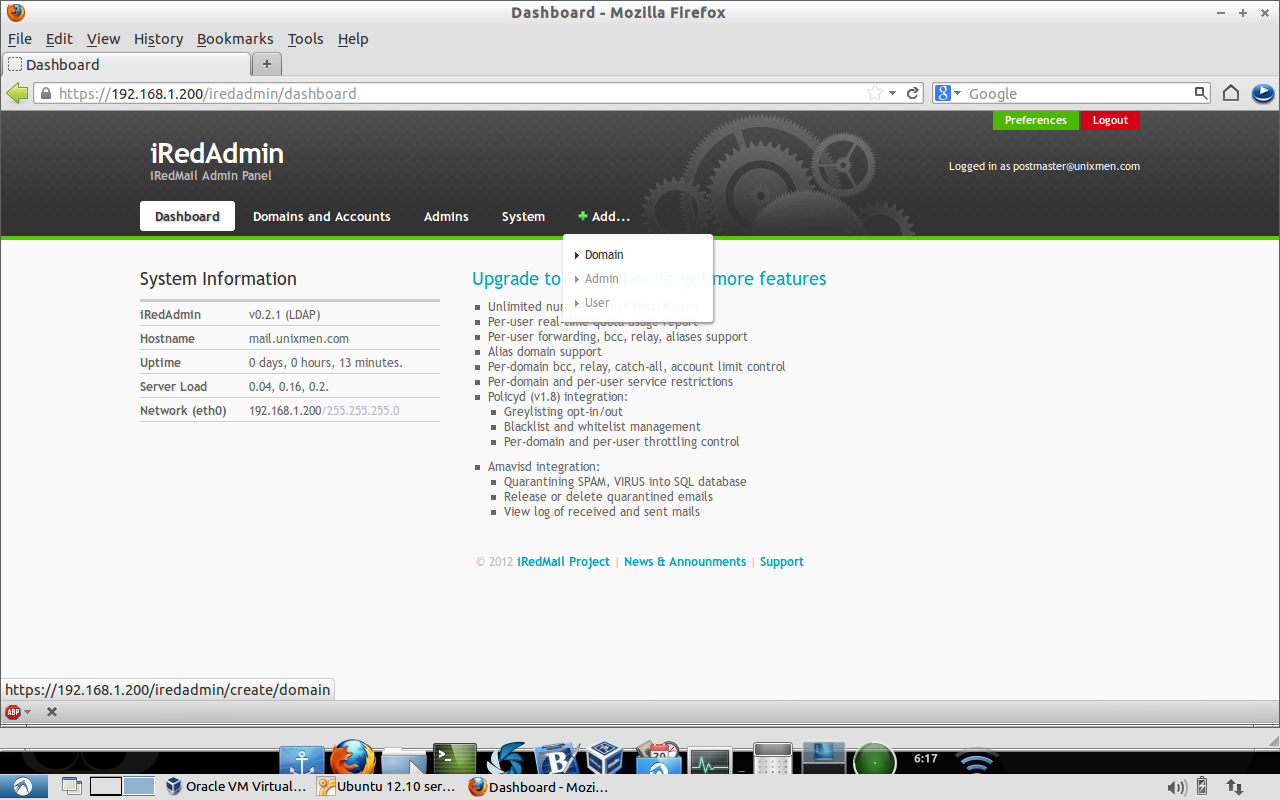
Point your web browser with “https://192.168.1.200/iredadmin” and enter the administration username and password.
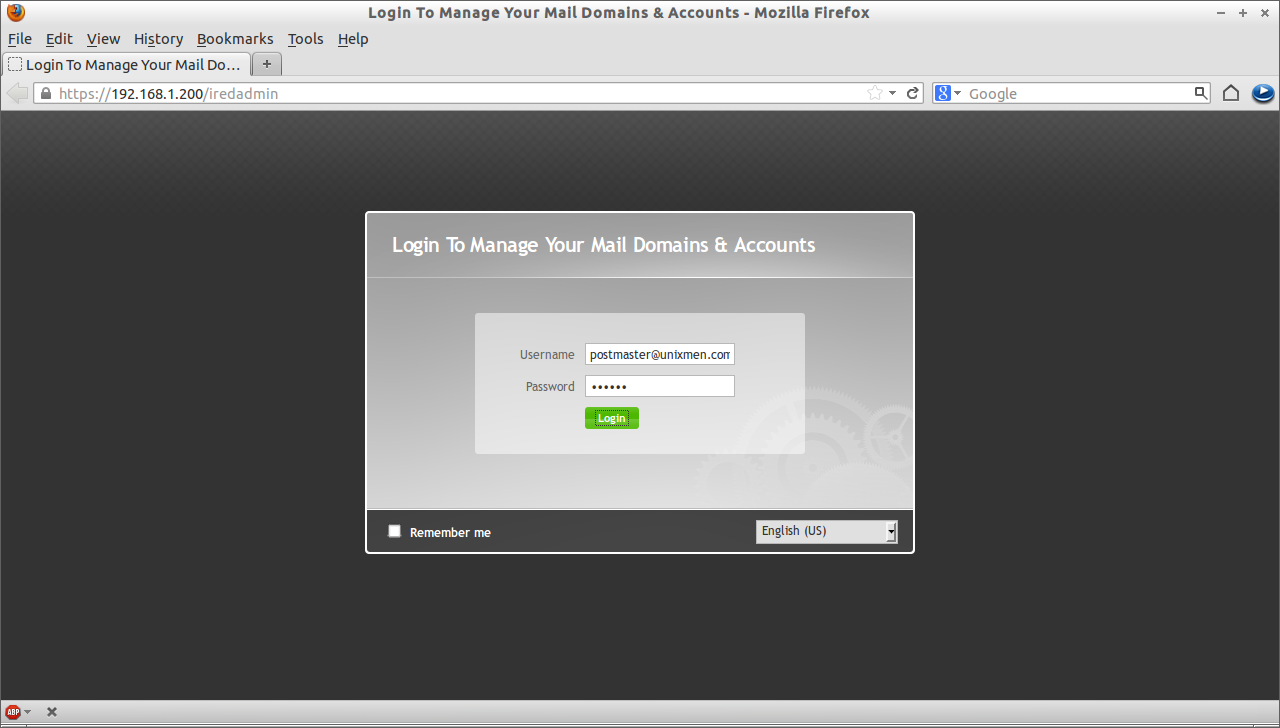
The admin console will look like below. From here you can add additional domain, admin accounts and user accounts as well.

User Creation
Login to your iRedAdmin console and click Add->User.

Enter the user details such as mail address, password and display name etc., and click Add.
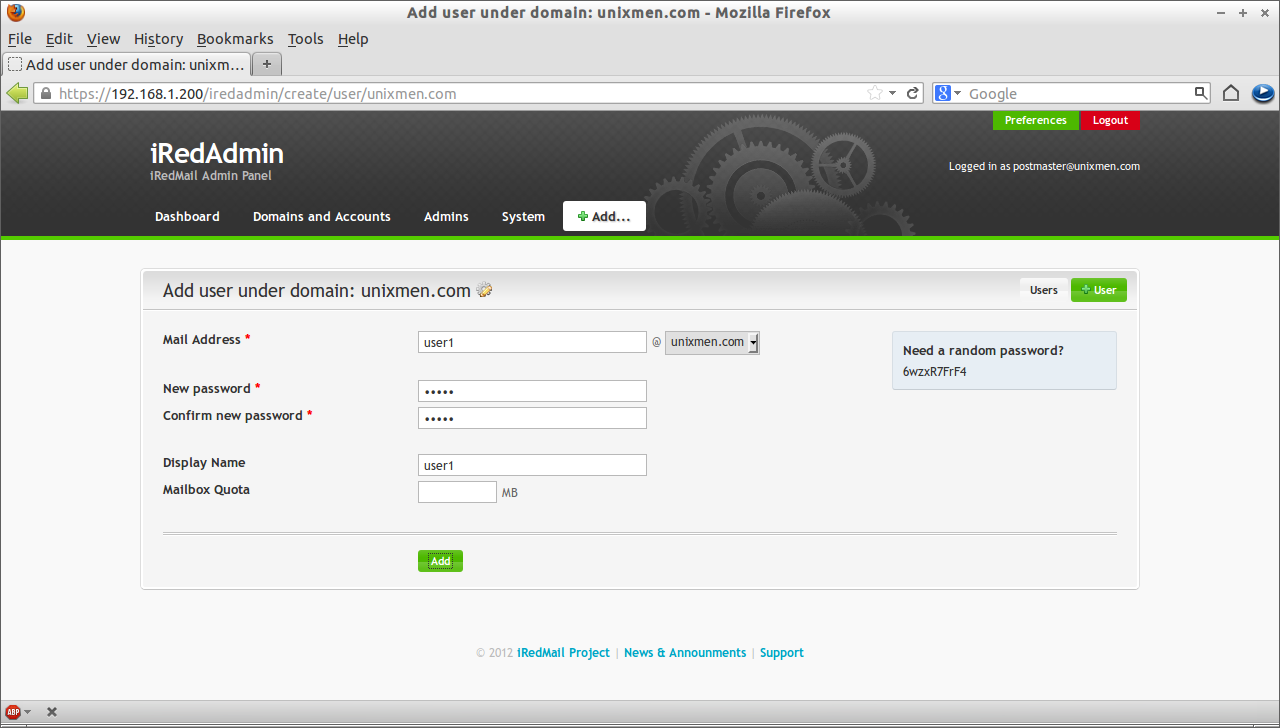
Add the required no of users for your organization. You can create unlimited no of users.
Webmail
Access your mail by pointing out the browser with “https://192.168.1.200/mail”. Enter user details and login.
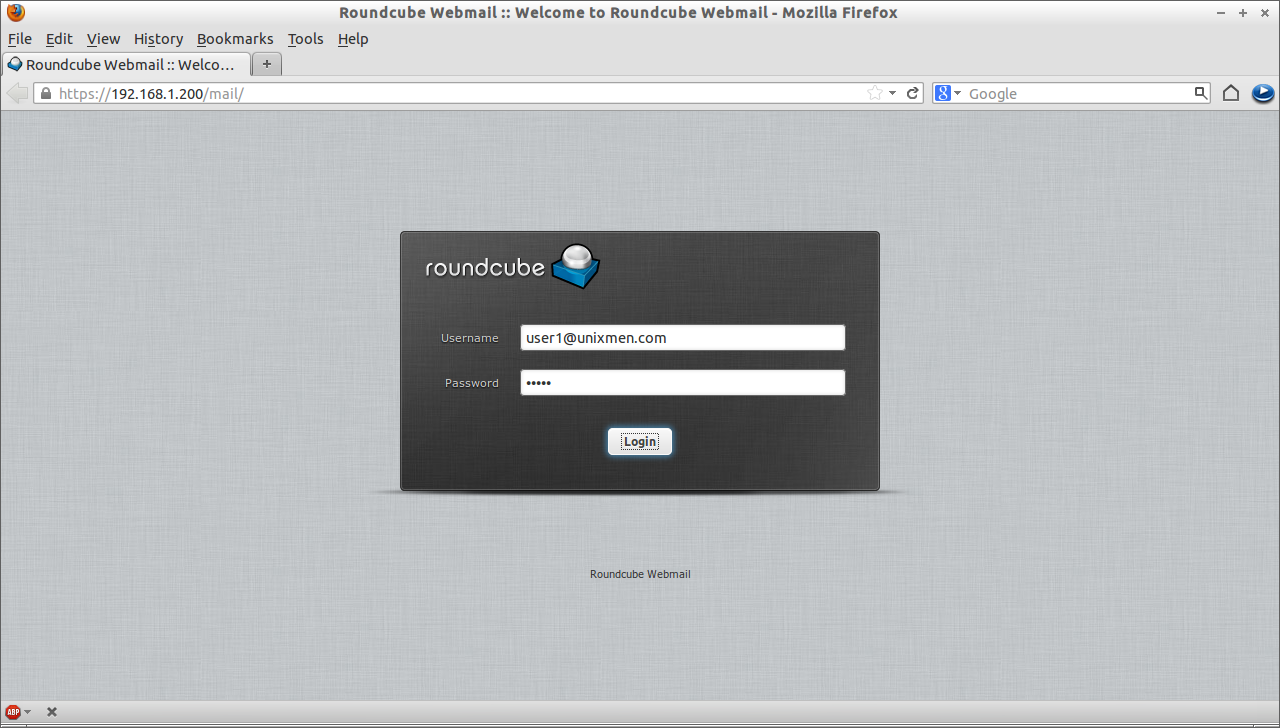
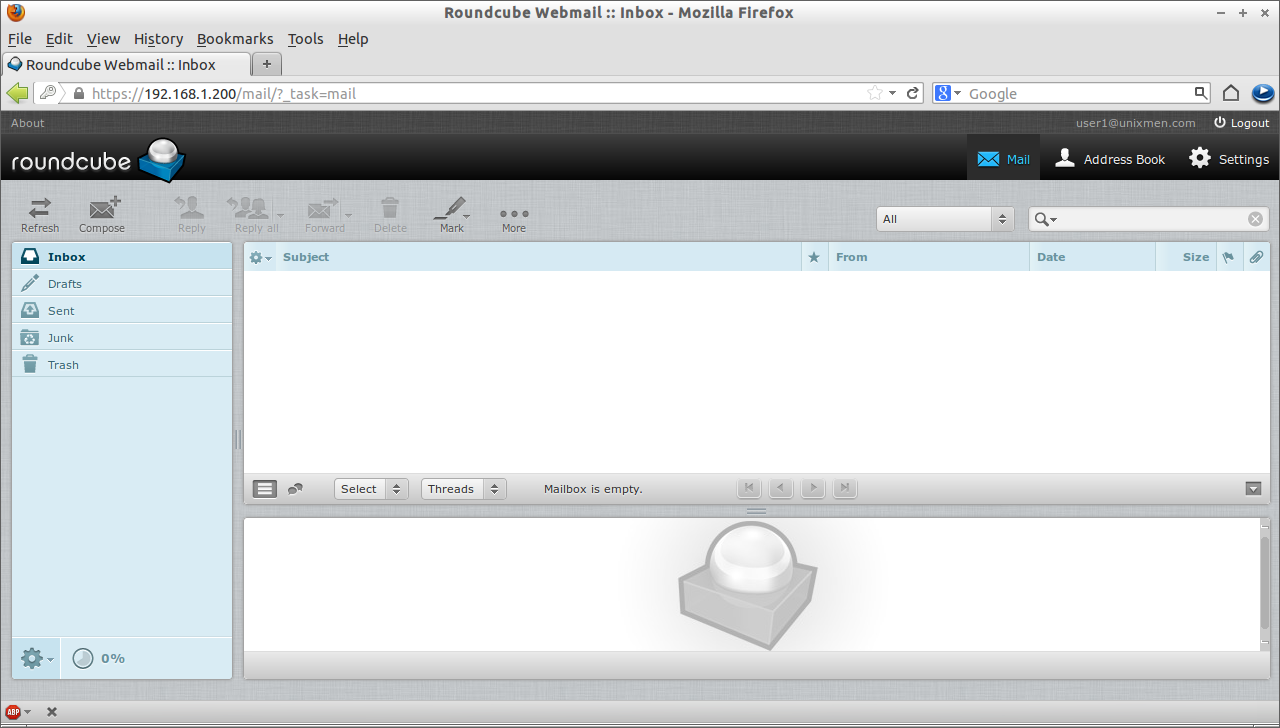
This will leads to the user1 mailbox.
Test Mail server
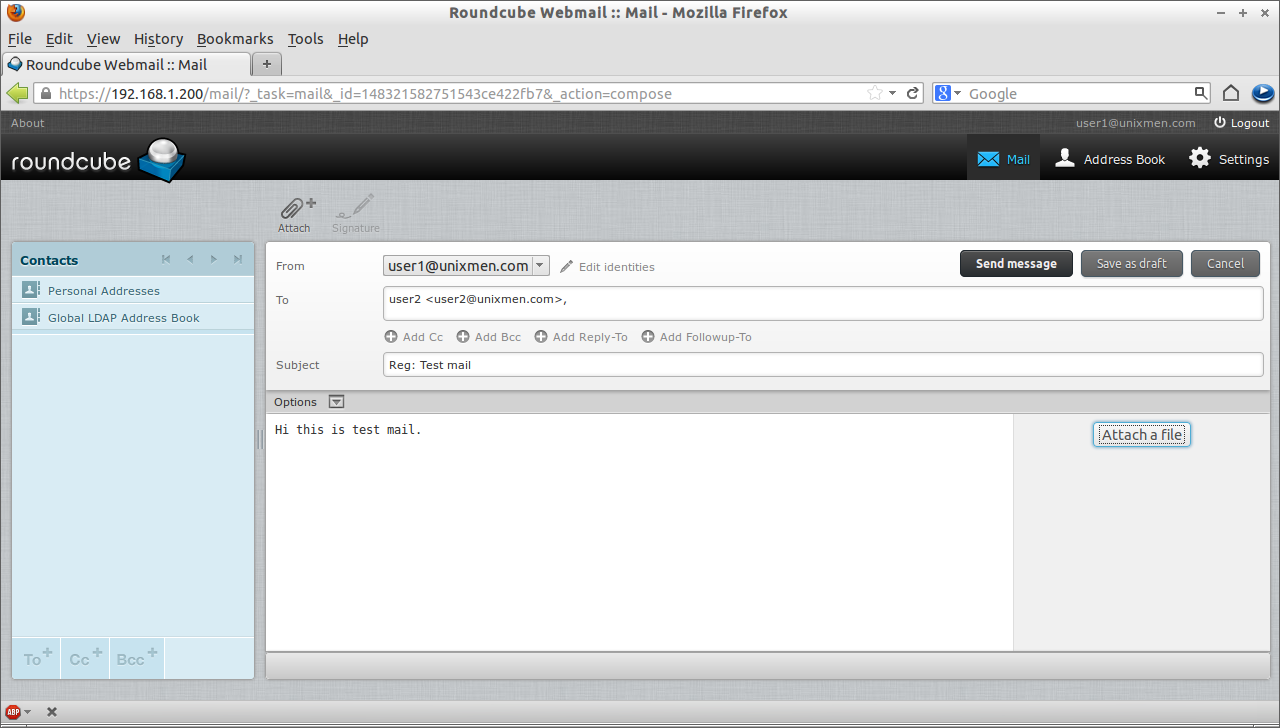
Let us compose a new mail from user1@unixmen.com to user2@unixmen.com.
Login to user1 mailbox. Click on “Compose” and enter the user2 mail id and subject matter etc. Click “Send Message”.
Now log in to the user2 mail and check for the new mails.
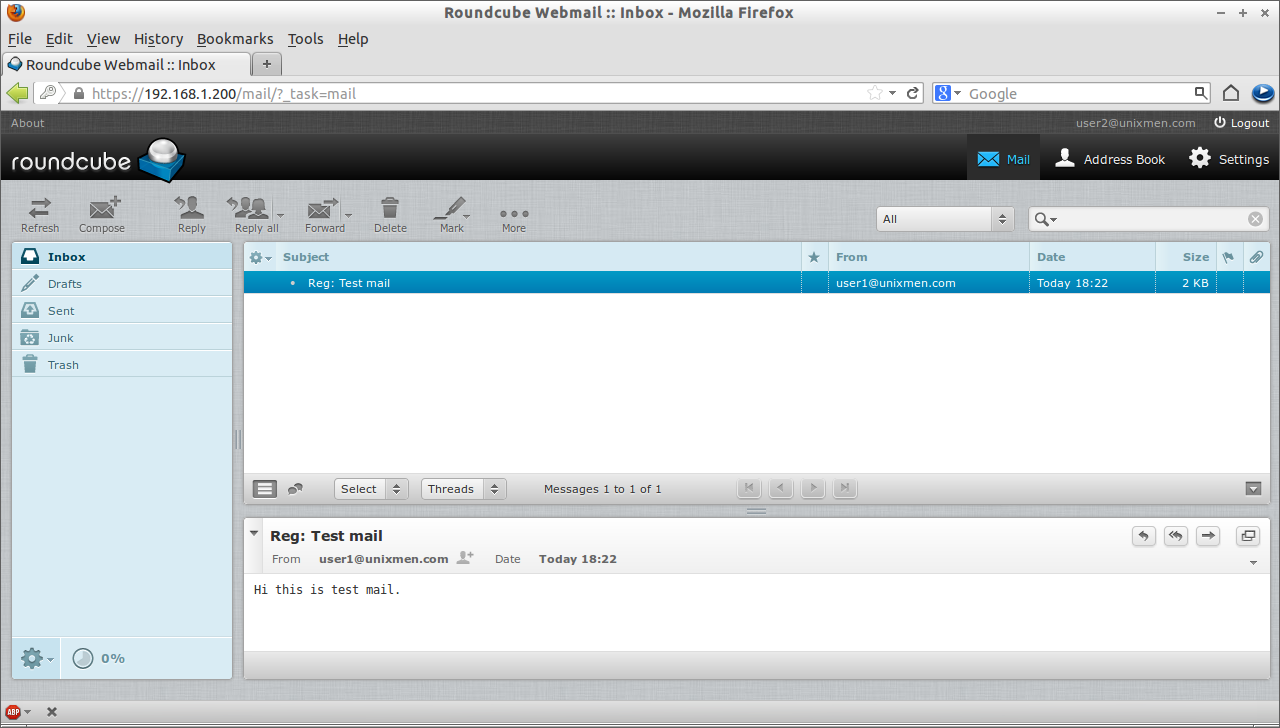
Thats it. user2 received the new mail from user1.
Add Multiple Virtual domain
If you want to use additional mail domain, it is possible then. Login to your iRedAdmin console.
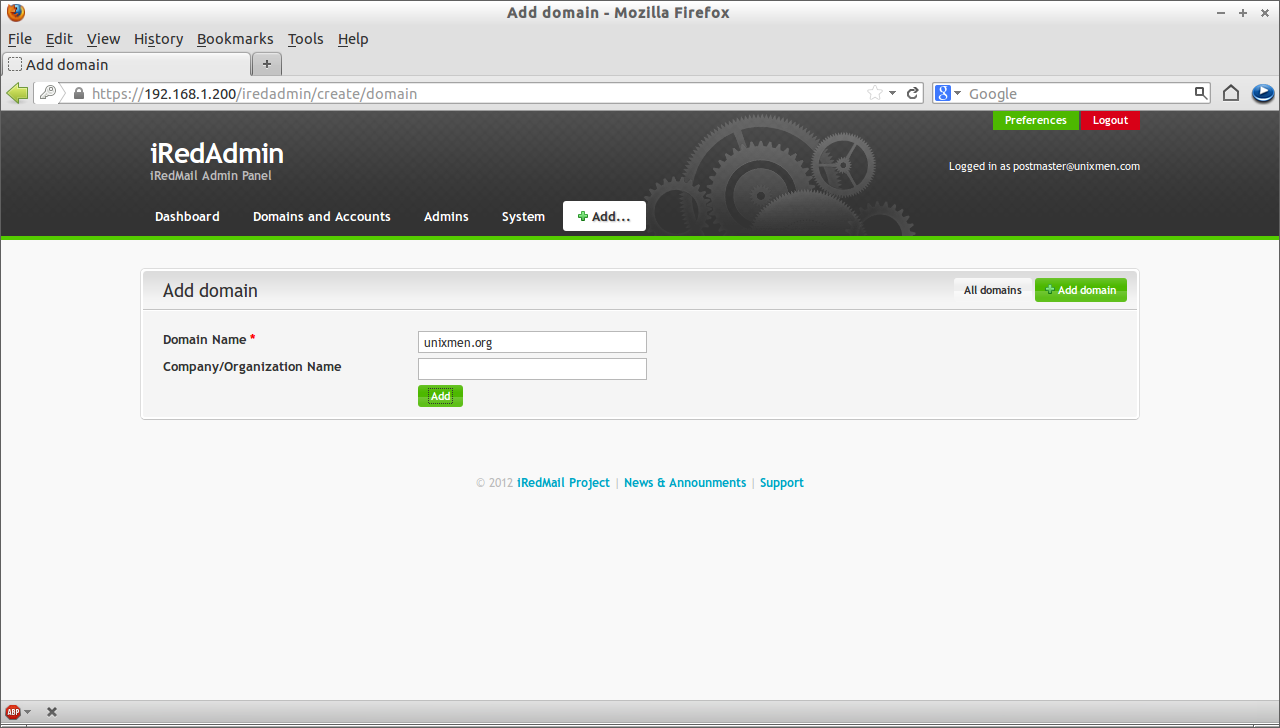
Click Add->Domain.
Enter the domain details and click Add.
Now you can create users for this new domain send mails using the new domain. Thats it.
--------------------------------------------------------------------- Setup Mail Server in minutes using iRedMail in Ubuntu 12.10 / Debian 6


